ZAProxy or OWASP ZAP, is a great piece of opensource software. Unfortunately after I installed it, I was getting the error below and Chromium was not working. So in this blog post you will find the details on on how I set up Chromium with OWASP Zap on Linux.

This is a post that is a follow up of my “Install OWASP Zap Manually on Linux” blog post.
If you don’t have time to read this all, I have created a short video to save you some time.
Software Required
I am using Ubuntu, but the process will work for any modern Linux System.
Chromium
To download the latest version of Chromium there is a nice github repo that helps in doing it. From my previous install i will just put it into the same folder as I have ZAProxy (~/zaproxy). However you can put it where ever you want.
First of all clone the github page
cd ~/zaproxy
gitclone https://github.com/scheib/chromium-latest-linux

The “git clone” command will create a new directory called chromium-latest-linux with the latest version of the chromium run and download scripts. So change your working directory to the new one
cd chromium-latest-linux
ls
Using the “ls” command you will see a number of files.

We want to run the update.sh one.

This will download and extract the Linux version of chromium into the current directory.
Running Chromium
In the same folder there is a run.sh script. Running this will launch Chromium.
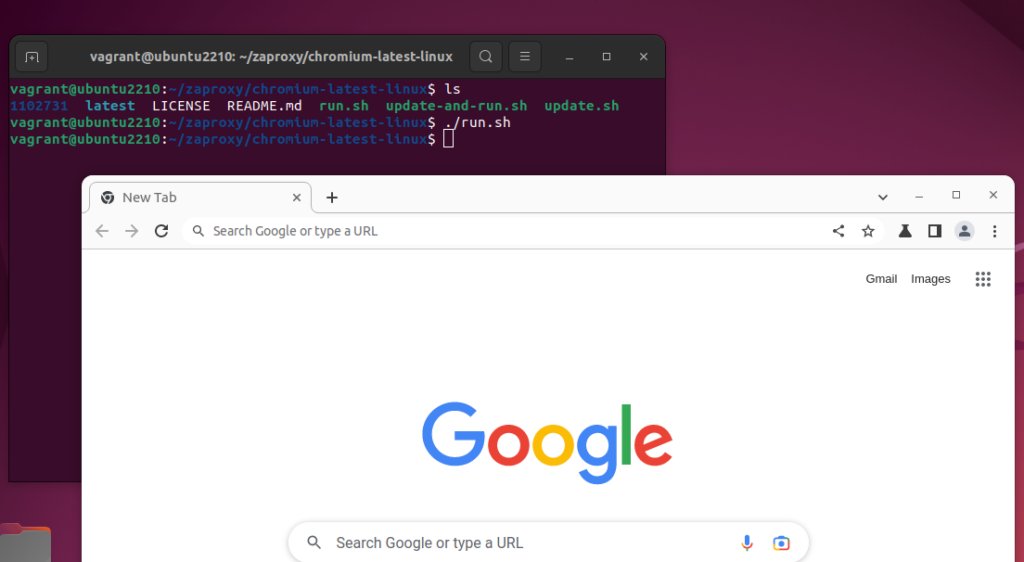
This should launch Chromium.
Integrate Chromium into ZAProxy
Zap uses selenium to control web browers. Selenium uses a tool called a WebDriver to send commands to browers. You have to be sure that are using the correct WebDriver version with the correct browser. If there any any issues zaproxy usually tells you in an not so subtle way. Lucky for us Zap has Selenium plugin installed by default that will have the latest WebDriver set up for us. Just make sure you keep your plugins update.
Lets start, go to the options page for ZAProxy, by going to Tools -> Options
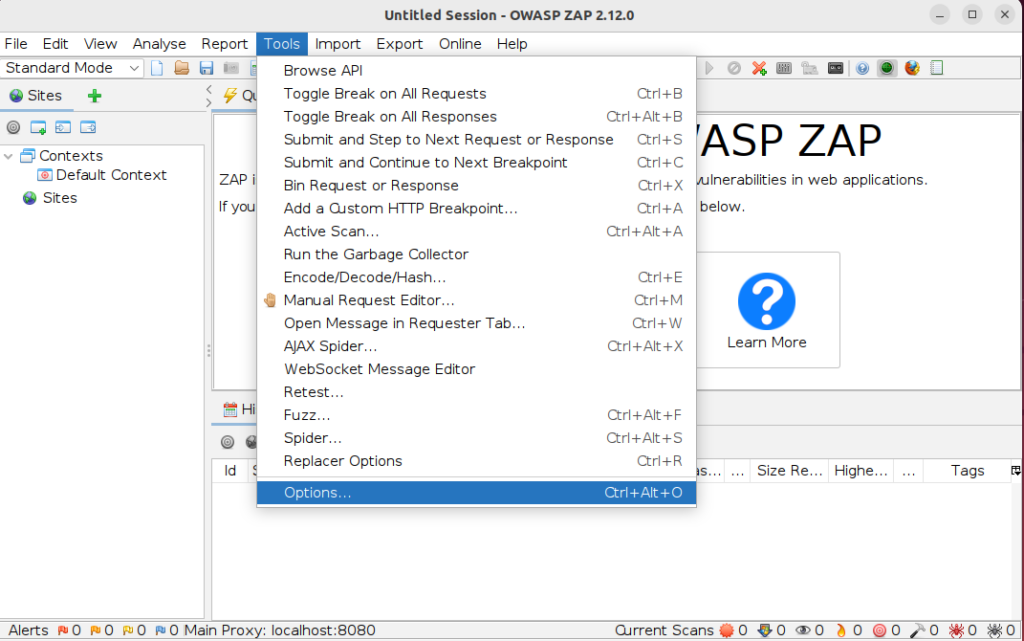
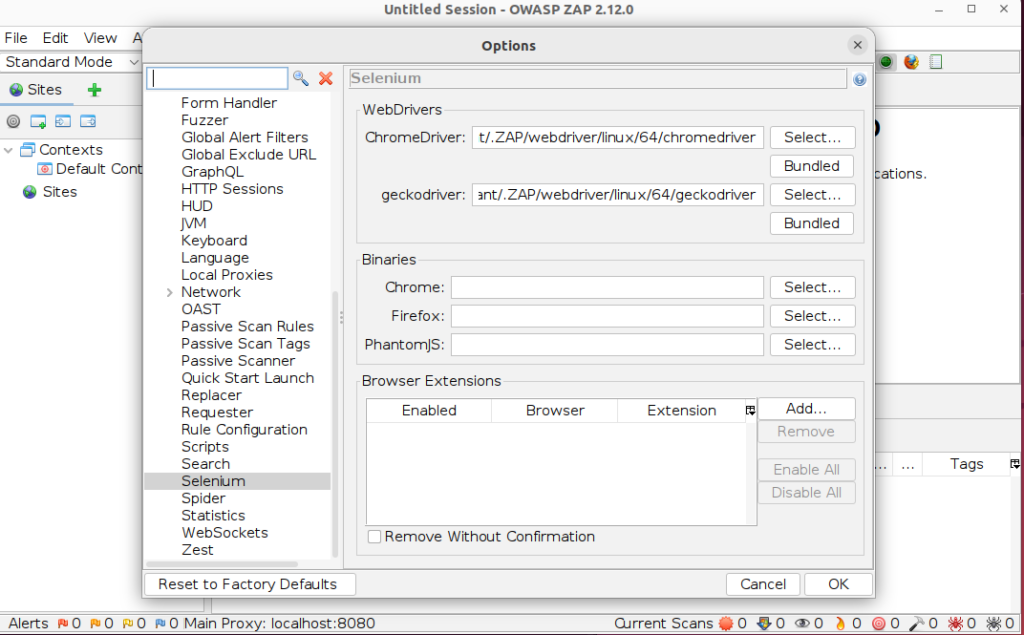
Once on the options page you can go to Selenium section.
Point the Chrome Binary Section to the run.sh script from earlier.
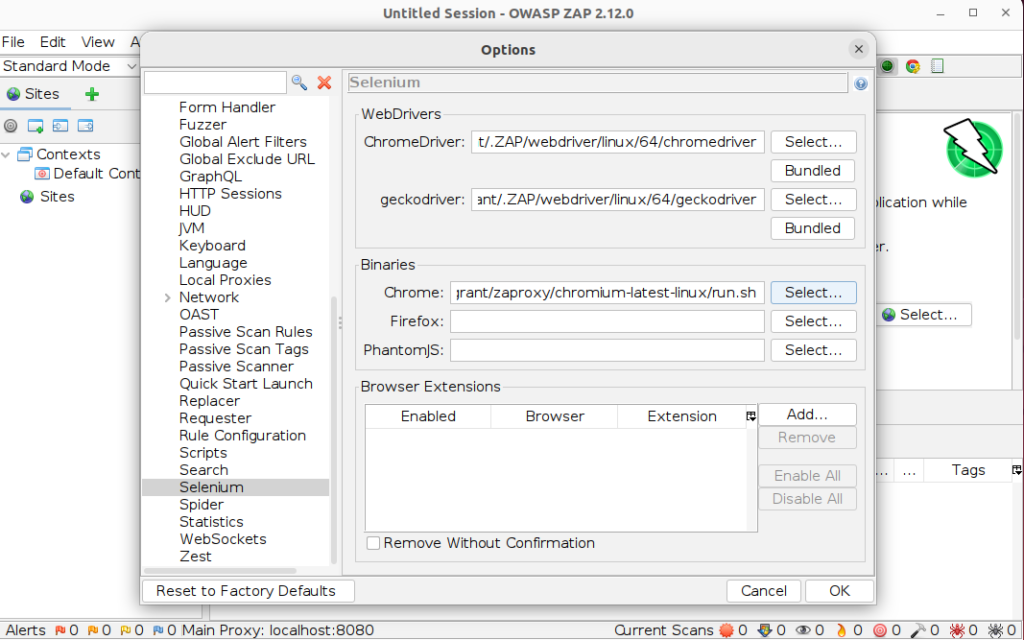
Launching Chromium via ZAProxy.
Go back to the main Zap screen and on the quick start menu select “Manual Explore”
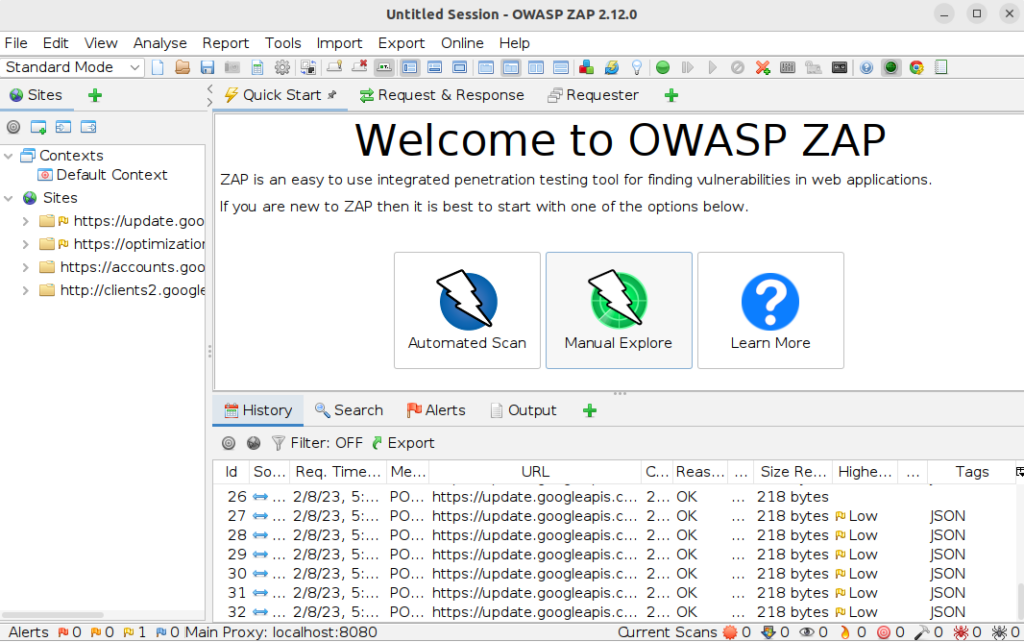
From the “Manual Explore” page put in a url and change the browser to Chrome. Then click Launch.
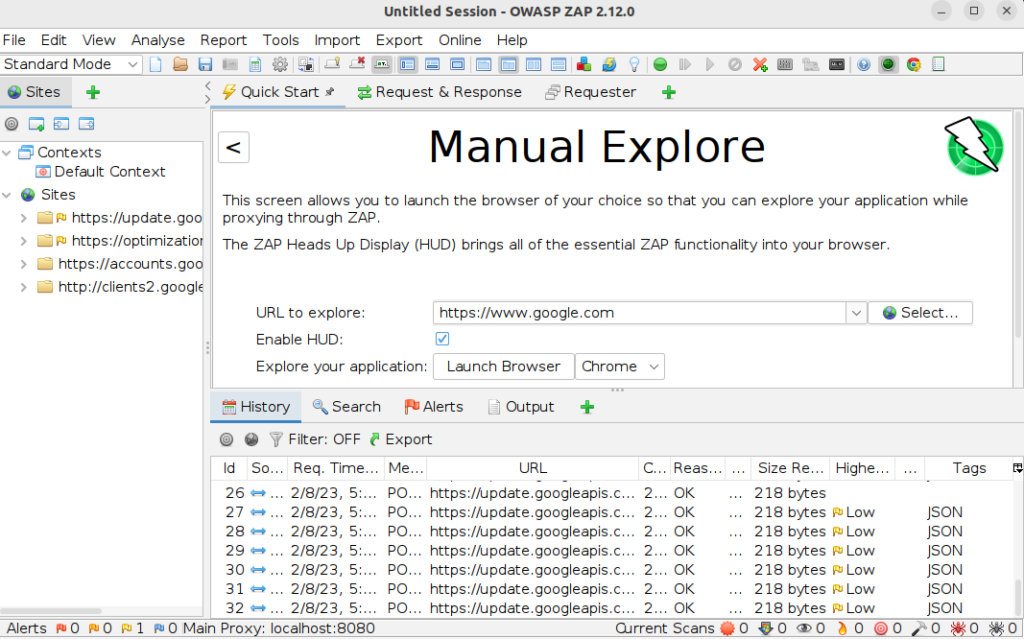
All going well, the Chromium Browser should launch opening the selected page.
Provided browser was not found, error
Now here is where we can run into some issues. Chrome could very well launch, but ZAP could throw an error at the same time. “The provided browser was not found”.
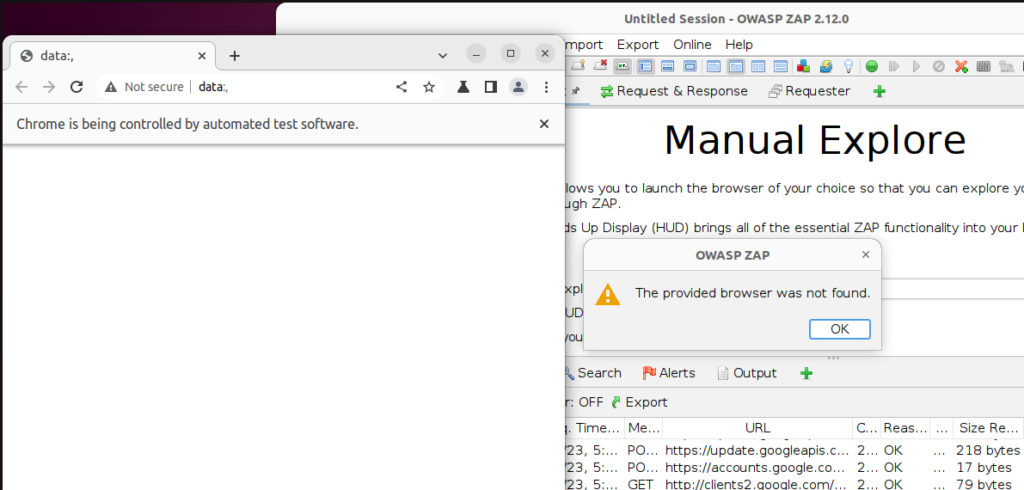
This is down to Chromium releases coming faster than the WebDriver releases. See Link. The solution is to use a matching Chromium release for the WebDriver. You can find the correct Matches here.

If you are using the newest chromium browser and it not supported by the
WebDriver, you might still be in luck. For me, after I closed off the error, Chromium worked fine.
Wrap Up
I hope you got some value from this post on how to Set up Chromium with OWASP Zap. Please leave a comment or you can find me on twitter.
