As part of my easy VPS series, I will explore how to deploy a Digitalocean Droplet. Which is a Virtual Private Server (VPS) on digital ocean. You should try not be afraid of public clouds. I know the costs can explode if the costs are too high, but with some careful planning you can prevent all of this. Public clouds are easy to work with and cheap. But they are not suitable for all situations.
So if you have a need for a Linux server, for a few hours, days or months then it can be very cost effective to use a VPS provided by a public cloud provider.
In order to keep my site going I would ask you to use the referral link below to create your digital ocean account. No worries if you cant.
Text is too much you can always watch my video on this topic.
Software
The Software required is straight forward enough. You need a modern web brower like chrome and a ssh terminal like putty so you can connect to your host afterwards.
Requirements
Before you create anything you need a few things. You need an account. If you create an account with my referral link from above, you will get a free $200 in credit over 60 days
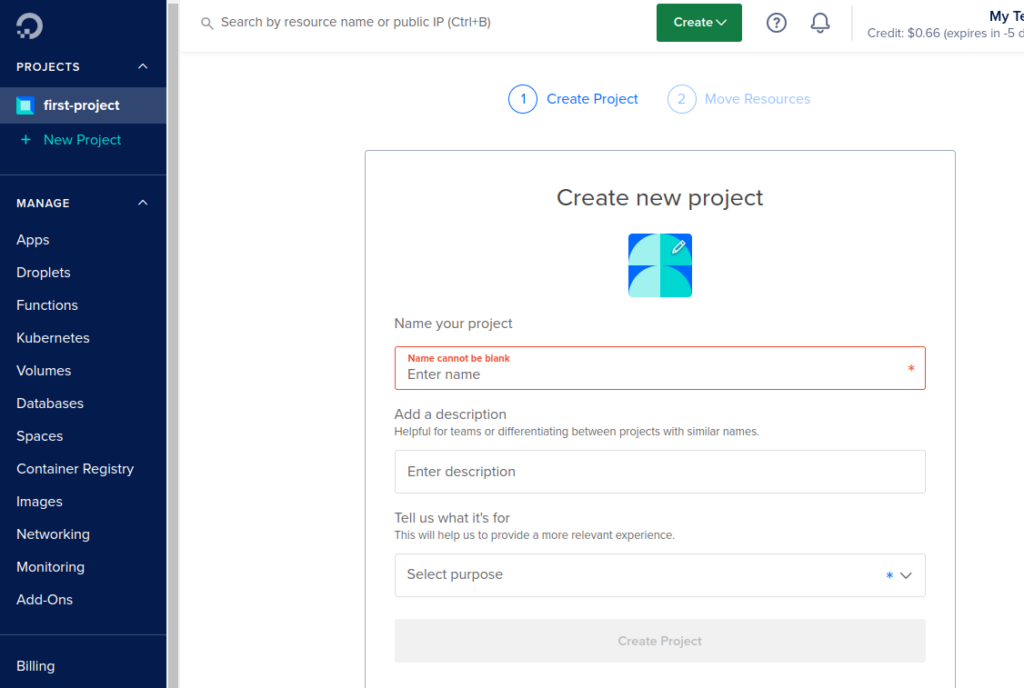
Also you need to make sure you have a project set up. So click the “new project” link in the navigation bar on the right hand side and follow the instructions.

You can call the project anything you like. I called it “first project”
Creating a Droplet
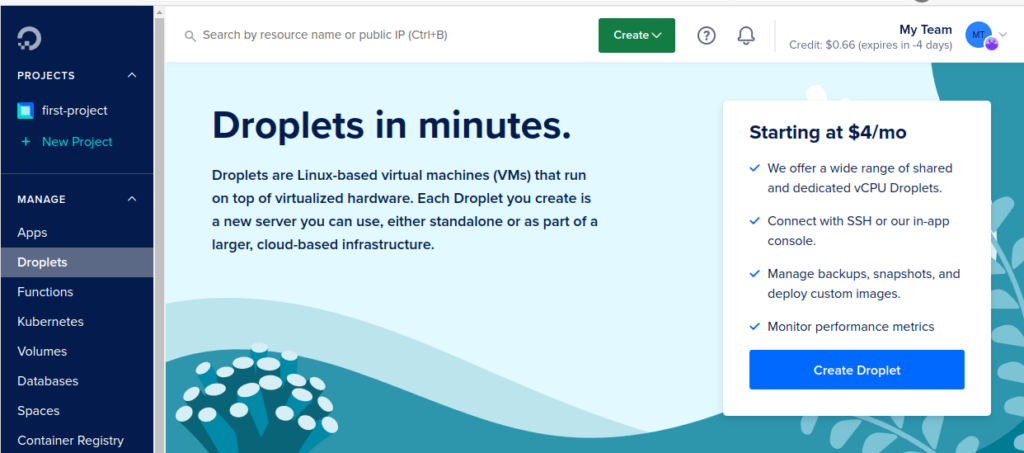
Log into to digital ocean and select the droplet window

Click on the “Create Droplet” button.
Choose a Region and a Datacenter
It is recommended that you pick one that is closest to you. However this is not nessary and you can pick any of them. Also note that some Datacenters/Regions do not have all services available.

Choose OS and Version.
There are many options here. I find it easier to go with Ubuntu and the latest version but you can pick what ever you like.

Choose Size
Here is where things can get expensive if you do not make the correct selections. I recommend the following.
- Shared CPU
- Disk Type: SSD
- 1 GB Ram, 1CPU , 25GB SSD and the 1000GB transfer per month.

This all comes in at $6 per month, or $0.009 per hour. If you ask me this is great value for a lab that you can destroy/create a you need it.
Choose Authentication Method
Here you put in your predefined ssh key.

Create Droplet
The other options can be left a default but if you choose to change them, then they are really self describing and clear what they do.
Click the “Create Droplet” button to create your system.

This should bring you the next page where you will get the public IP of the droplet.
Connecting to the droplet
From the new page copy the public ip address of the droplet.

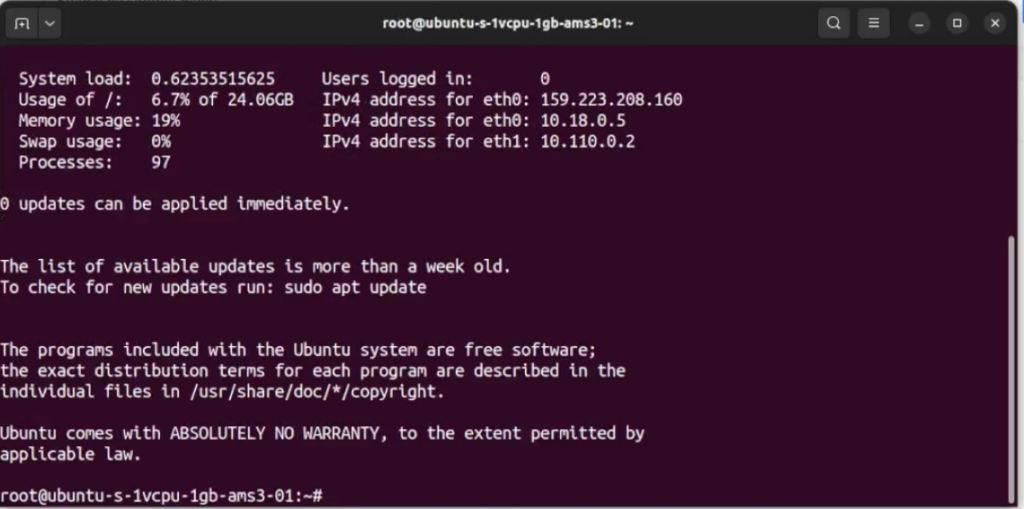
You now use your private key to connect to the droplet.
ssh -i ~/.ssh/cloudkey root@192.223.2008.160
And you are connected
Post Installation Set up
You really should be using something like ansible to manage these systems so you can get them up and running as fast you can.
Wrap Up
I hope you got some value from this blog post on how to deploy a digitalocean droplet. Any comments or queries you can find me on Twitter and email.

